Once you’ve created a stage, or been given edit access to a stage created by another player, you can assign media to that stage so that you can use it there in live cyberformances.
There are three ways to assign media to a stage:
- during upload
- from the Media section of the Studio
- from the Stage Management section of the Studio.
See the chapter Upload media for information about how to assign media to a stage during the upload process.
Assign media that has already been uploaded
Once a media item has been uploaded to UpStage, you can assign it to your stage from either the Media or Stage Management sections of the Studio.
Note that you can set permissions on your media items to control whether or not other players can assign your media items to their stages.
From the Media Section
Navigate to the Media section of the Studio by clicking the Media icon in the left-hand navigation bar.
- In the Media section the default view shows media that you have uploaded.
- Locate the media item you want by entering the media name in the search box, or use the filters in the top navigation bar; you can filter the media list according to the player who has uploaded a media item, the media type, stage assigned to, tags and a date range.
- Once you’ve located the media item you want, click on the green “Edit” button on the right-hand side. The media item’s edit interface opens in an overlay.
Note: if you don’t see an Edit button, this is because the player who uploaded the media has set its permissions to either “use with permission” (in which case, you must request permission) or “not shared” (in which case you cannot assign it to a stage). - In the list of available stages, locate and click on the stage or stages that you want to assign the media item to. Its checkbox will change to green with a tick.
- Click on the green arrow between the list of available stages and the right-hand column of assigned stages. The stage(s) will move to the right-hand column.
- Click “Save” in the lower right-hand corner of the media item’s edit interface.

From Stage Management
- In the Studio, click on the Stages icon in the left-hand navigation bar. You’ll see a list of stages that you have access to.
- Locate the stage which you want to assign media to; use the search box if you don’t see the stage you want.
- Click on the “Manage” button at the right. The Stage Management interface opens.
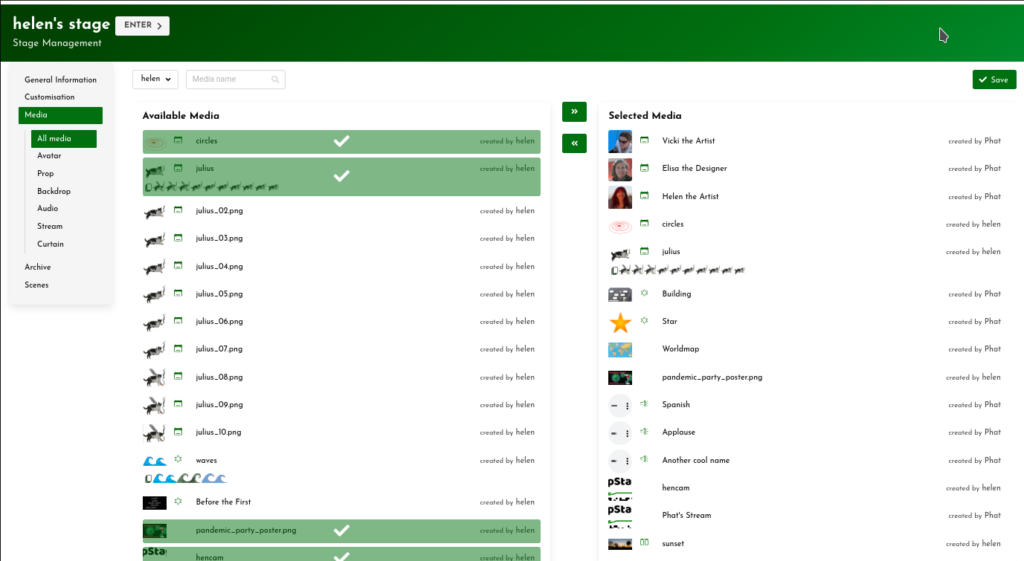
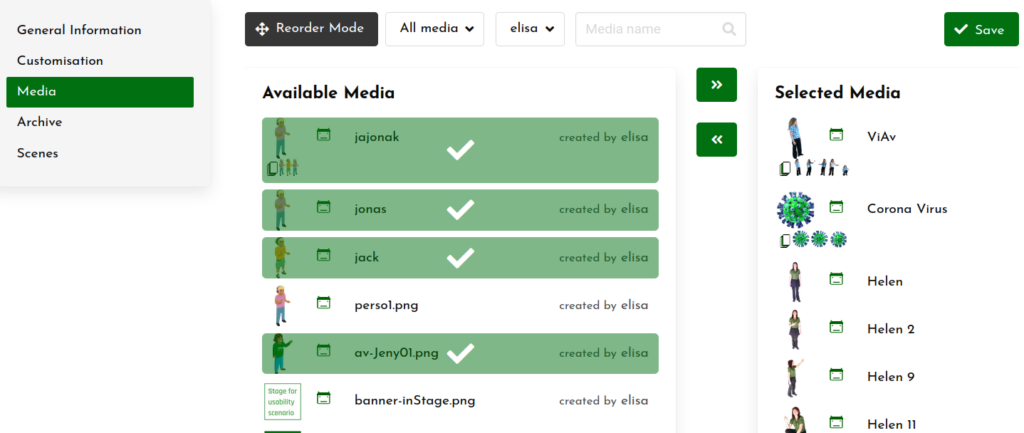
- Click on “Media” in the left-hand navigation.
- Select the type of media and / or the player who uploaded it to filter the list, or use the search box to find the media item you want.
- Hover the cursor over a media item; it will be highlighted in green, with a white plus (+) icon.
- Click on it and it will move to the right-hand list, which shows the media that is assigned to this stage.
- Click “Save” in the upper right corner.
Remove media from a stage
It’s good practice to remove any media from your live stage that you don’t need for a performance. The stage will load faster, and you’ll find it easier to locate the media you want in the on-stage toolbars.
To unassign, or remove, media from a stage:
- in the Media section, open the media item’s edit interface; click on the stage you want to unassign the media item from to select it, then click on the green arrow between the columns to move it back to the available stages column. Then click “Save”.
- in the Stage Management interface, click on the media icon in the “Selected Media” column, which will move it back to the “Available Media” column. Then click “Save”.
Unassigning media from a stage does not delete it from the server, only from that stage. The media item will still be on other stages that it has been assigned to, and available in the Studio media list to be reassigned at any time.