You can create your own stage in the Stages interface in the Studio. This is where you arrive when you first log in, but if you’re not there, click on the Stages icon in the left-hand navigation bar of the Studio. The Stages interface displays a list of existing stages.
 To create a new Stage, click the green “+ New Stage” button in the top left-hand corner. A new interface opens with a form for you to enter the details of your stage.
Give the stage a meaningful name – this will appear in the stages list and other places – as well as a short name that will be in the stage’s URL (for example, http://upstage.live/shortname). The URL name must be unique and can’t be changed. Please avoid unnecessarily long URL names, and do not use spaces and punctuation.
You can add a short description of your stage. This will be visible to the audience while they are loading the stage, so you may want to use a by-line or provide information that will be helpful for them to engage with your performance.
With the Status toggle, you can set your stage to be either “Live” or “Rehearsal”. Live means that the public can enter; Rehearsal means that only logged-in players who have player access on this stage, will be able to enter.
The Visibility toggle lets you choose whether or not your stage is shown on the Foyer. If you turn this toggle on, a thumbnail of your stage’s cover image will be shown in the grid of stages on the Foyer. You can use this to promote an upcoming performance and for audiences to easily enter the stage when it’s live.
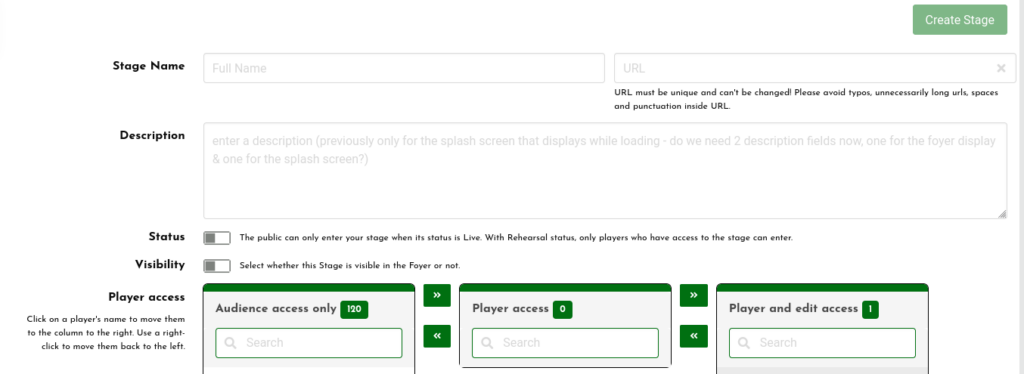
Assign players to your stage
Unless you’re creating a solo cyberformance, you’ll want a team of players – the cast and crew of your cyberformance. You need to give these other players access to your stage, otherwise they’ll only be able to enter as audience, without access to the on-stage player tools.
There are two levels of access you can give to other players on your stage:
- “Player access” gives them access to the on-stage tools so that they can be part of the performance
- “Player and edit access” allows them to also edit the stage – to add media and make other changes in the stage management interface.
Click on a player’s name to move them to the right and increase their access. Right-click on a player’s name to move them to the left and decrease their access. Use the search field if you don’t see the username of the player you want to move.
Cover image
You can choose an image to display while your stage is loading. This could be a backdrop from the performance, or you may wish to create a specific image that includes information about the show to help the audience have the best experience.
Click “Choose an image” and select from the available images, or click “New +” to upload a new image from your computer.
Create the stage
Click the “Create Stage” button at the top right of the screen to create and save your stage. Note that you can change any of the information you have entered, at any time, apart from the URL.
After creating your stage, you’ll arrive at the Stage Management interface for your new stage. Please go to the chapter Manage your stage to find out what you can do here.