Props are images that can be placed on the stage and moved, resized, rotated and so on. They are different to avatars in the following ways:
- a prop is not held by a player; when a prop is placed on the stage it can be operated by any player
- props do not have voices and cannot ‘speak’ in the chat or with speech bubbles
- props can be attached to an avatar so that they are moved and resized with the avatar.
Place a prop on the stage
Click on the Props tool in the left-hand menu. The Props overlay appears at the top of the stage, showing all the props that have been assigned to this stage. Drag the prop you want onto the stage.
The prop will initially appear black and white, and only visible to you. You can adjust the size, position, opacity and other properties before clicking on the light bulb icon at the upper right of the prop to make it visible to everyone on the stage. The light bulb will become green and the prop will become coloured.
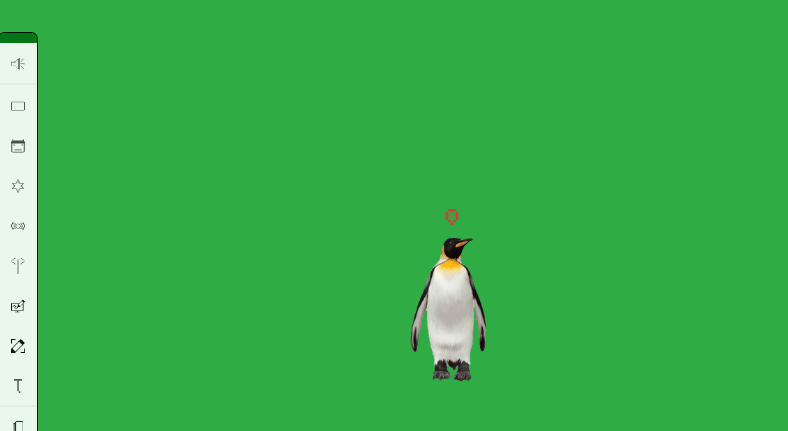
Basic prop operations
Props are operated in very much the same way as avatars, without the ability to speak and with the ability to be operated by any player.
Move
Click on a prop on the stage and a green frame appears around it. Drag and drop to move the prop to another position on the stage.
Right-click on the prop to access its context menu. Here you can change the left-hand slider to “Move speed” (the slider becomes pink) to adjust the speed with which the prop will move.
Scale
Click on the prop to see the green frame. Drag the handles to resize the prop; the original proportions will be maintained.
Rotate
Click on the prop to see the green frame. At the top is a handle with a small white circle. Click and hold this handle, then drag it to rotate the prop.
Flip
Right-click on the prop to access the context menu. The “Flip” options are “Horizontal” or “Vertical”. Click Horizontal to make the prop flip horizontally. Click Vertical to make the prop turn upside-down.
Change opacity
Click on the prop to see the green frame. The green slider on the left allows you to decrease or increase the opacity. (If the slider is pink or yellow, open the right-click menu and select the “Opacity” option for the slider.)
When you first drag a prop onto the stage, its default setting is full opacity. If you want the audience to see the prop fade in, lower the opacity before turning on the light bulb. Then turn on the light bulb and raise the opacity.
Bring forward or send to back
When a prop is placed on the stage, it will appear ‘in front’ of other media that’s already there. To move a prop behind other media, right-click on it to access the context menu and select “Send back”. If it is behind other media, you can select “Bring forward”.
The Depth tool is another way to change the order of media on the stage. See the chapter Depth tool for information about this.
Play an animated prop
Animated props are created either as multi-frame props – a series of still images combined into one prop – or uploaded as animated gifs. A multi-frame prop will be identifiable in the prop overlay by the small white rectangle icon. A prop that has been uploaded as an animated gif will be identifiable in the prop overlay because the thumbnail icon will be in motion.
To play a multi-frame prop, right-click on it to access the context menu. Click on the play icon at the bottom of the menu. You can adjust the speed of the animation by changing the slider to “Animation speed”. The slider at the left side of the prop’s frame will turn yellow, and you can adjust it up or down to make the prop animate faster or slower.
Animated gifs will animate as soon as they are placed on the stage. If the gif has been saved to loop, it will loop continuously. If it doesn’t loop, you can play the animation again by clicking on the prop.
Change animation speed
To change the speed of a multi-frame animation, right-click on the prop to access the context menu and change the slider to “Animation speed”. The slider will now be yellow. Adjust it up or down to speed up or slow down the frame rate.
The speed of gif animations cannot be changed in UpStage – this is set in the graphics application where the gif was created.
Remove a prop from the stage
There are three ways to remove a prop from the stage. You must first select it with a single click so that the green frame is visible, then either:
- click the X at upper right (beneath the light bulb icon)
- right-click to access the context menu and select “Remove”
- use the delete key on your keyboard.
The prop will disappear from the stage. It’s still accessible in the props overlay if you want to put it on the stage again.